Make Language Pouches
If you are familiar with Montessori, you know there are many cards in the language area. Between the phonetic and phonogram language lessons (Pink, Blue, Green Series or Step 1, 2, 3) and the entire grammar section, it's hard to know how to store everything, and it's easy to lose track of cards and get them mixed up. The question is, how do you store your Montessori language cards?
We've shown how to store our Pink, Blue, and Green Language Series (or Step 1, 2, and 3 Language Series).
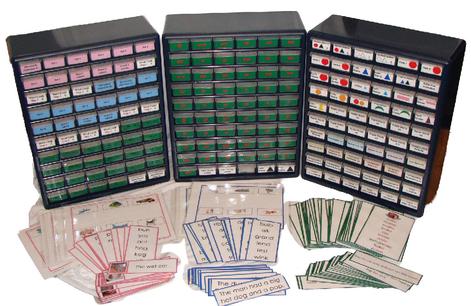
But what about all the extra lessons that don't fit into those towers? Or all the cards that can't just be put into small baskets or bins? Shelf space is tight in most well-equipped Montessori environments.
A simple solution is to make pouches to hold the various cards. They can be sized and color-coded to suit your materials. They're inexpensive to make, and many pouches can be put into a basket to stay organized.

You'll need the following materials:
- file folders (any color)
- scissors or paper cutter (we recommend a paper cutter for nice, even cuts)
- glue stick (do not use white craft glue)
- laminating pouches
- laminator
- Exacto knife
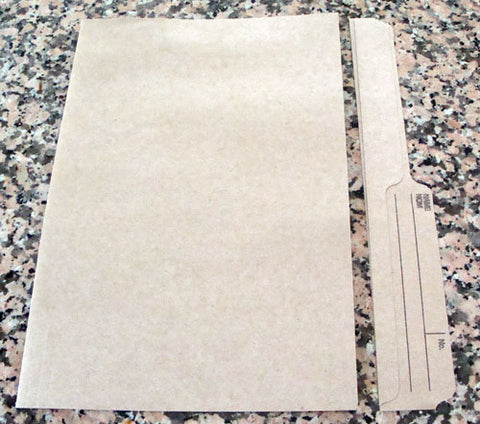
1. Select a file folder (consider if you want it to be color-coded for the material)
2. Trim off the label portion.
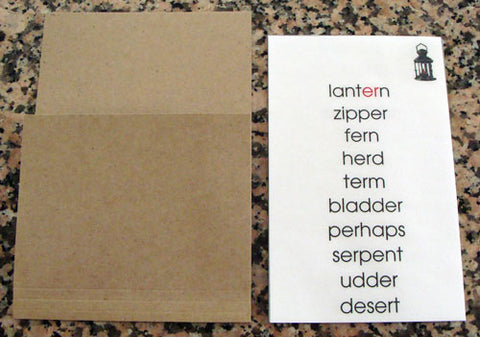
3. Turn it sideways (with the fold at the bottom) and cut it so it is wide enough for the material.

4. Measure the newly cut file against the cards that will be stored inside it (leave a minimum of 1 inch on either side).
5. Trim the top flap so that the top section of the cards will be visible when slid into the pouch.
Using the glue stick, glue the label for the cards on the top flap of the pouch.

7. Place the file pouch into the laminating pouch. Cover with the 'carrier' file to prepare for the laminator. A 'carrier' is just like a file folder. The laminating pouch is placed in the carrier before it's fed through the laminator. (Please read the instruction manual that came with your laminator to see if they recommend a 'carrier.' Some laminators are very hot and will melt, burn, or wrinkle the laminating film if you do not use the 'carrier').

8. Feed through the laminator. When the pouch has cooled, trim off the excess edges. Be sure to leave a ¼ inch of laminating film around the pouch's edges so that the edges don't split open.
9. Using an Exacto knife, carefully slice open the pouch area along the edge of the top flap. Leave about a ½ inch uncut on either side of the pouch opening. Do not press too hard when making the cut, or you will cut right through the back side of the pouch - you just want to slice through the thin layer of laminating film.

10. Gently open the pouch and slide your cards inside.
